7 Steps to Remove Screws From Your Holster
To remove screws from your holster, first identify the screw type and size to pick the right tool. Gather matching precision screwdrivers and keep tweezers handy. Prepare a clean workspace with containers to hold screws safely. Use steady, controlled pressure to loosen screws by turning them counterclockwise, avoiding stripping. After removal, inspect screws and the holster for damage, then store screws carefully for reassembly. Follow these steps, and you’ll handle the process smoothly and confidently.
How to Identify the Type and Size of Holster Screws

To remove holster screws effectively, you first need to identify their type and size. Take a close look at the screw head to determine its drive style — common types include Phillips, flathead, Torx, and hex. Knowing this helps you pick the right screwdriver or bit later.
Next, check the screw’s length and diameter; these dimensions matter because they affect how tightly the screw fits into your holster. You can use a ruler or caliper to measure these accurately.
Also, note any special features like serrations or washers, as they might require extra care during removal. Recognizing the screw type and size upfront ensures you won’t damage your holster or screws when you get to loosening them.
Gather the Right Tools for Removing Holster Screws
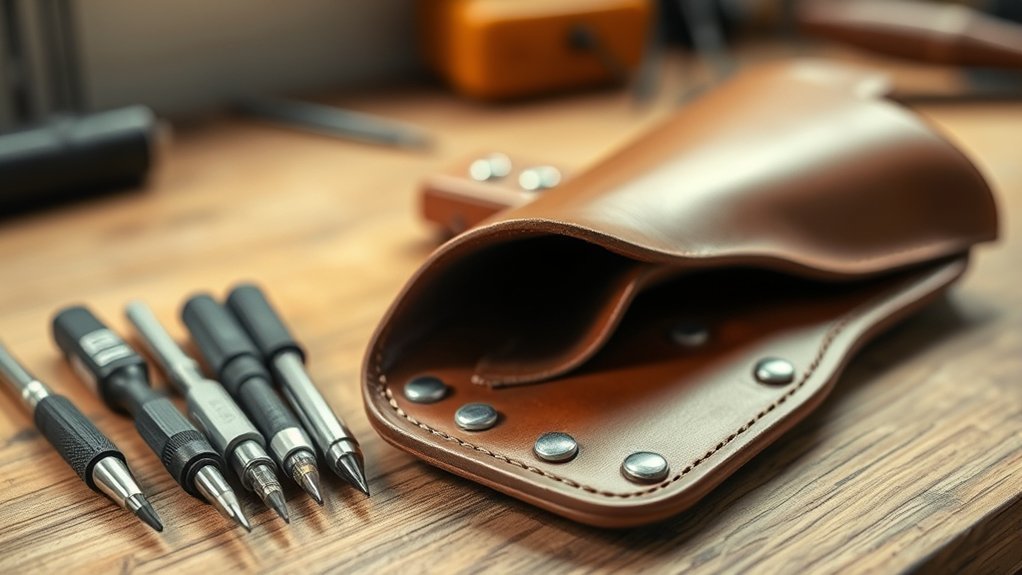
Knowing the type and size of your holster screws guides you in selecting the right tools for removal. Start by gathering a set of precision screwdrivers or bits that match the screw heads—whether Phillips, flathead, Torx, or hex.
Using the correct size prevents stripping and damage. If you’re unsure, try a few sizes on a spare screw or test gently on one screw to find the perfect fit.
Additionally, have a magnetic screwdriver or bit holder handy; it makes handling tiny screws easier and reduces the chance of losing them.
Keep a pair of tweezers nearby for retrieving screws from tight spaces.
With the right tools ready, you’ll remove your holster screws smoothly and safely without causing damage.
Prepare Your Work Area to Avoid Losing Holster Screws
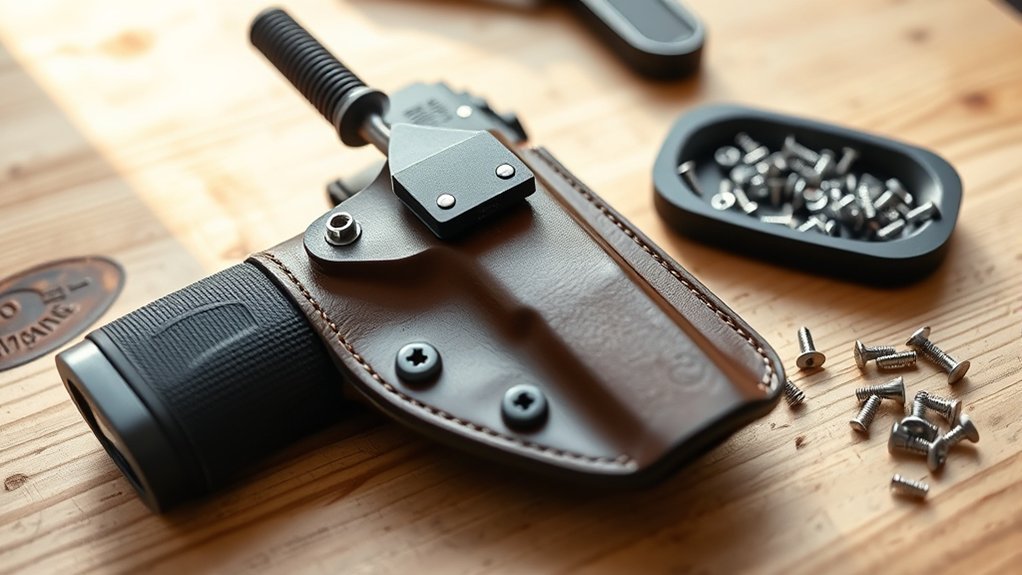
Before you start removing screws, set up a clean, organized workspace where everything has its place.
Use small containers or magnetic trays to keep screws from rolling away or getting lost.
This simple step will save you time and frustration later on.
Organize Your Tools
Where should you start when preparing to remove screws from your holster? Organizing your tools is key. Having everything ready prevents frustration and lost screws.
First, gather all the necessary tools before you begin. Next, arrange them neatly on a clean, flat surface within easy reach.
Finally, double-check that your tools are in good condition to avoid slipping or stripping screws.
Here’s a quick checklist to get you started:
- Screwdrivers or bits that match your holster screws.
- Tweezers or small pliers for handling tiny parts.
- A clean cloth or mat to keep screws from rolling away.
Use Screw Containers
Two small screws can easily disappear if you’re not careful, so using screw containers is essential when working on your holster. These containers keep your screws secure and prevent frustrating losses. You’ll feel more in control and less stressed as you work. Plus, it saves time searching for dropped screws on the floor or workbench.
Using containers also helps you sort screws by size or step, so you don’t mix them up. Choose containers with compartments or magnetic trays for extra security. Keeping your workspace tidy means a smoother, faster process without interruptions.
| Secure | Organized | Efficient |
|---|---|---|
| Peace | Clarity | Precision |
| Focus | Control | Success |
Loosen Screws Without Stripping Them
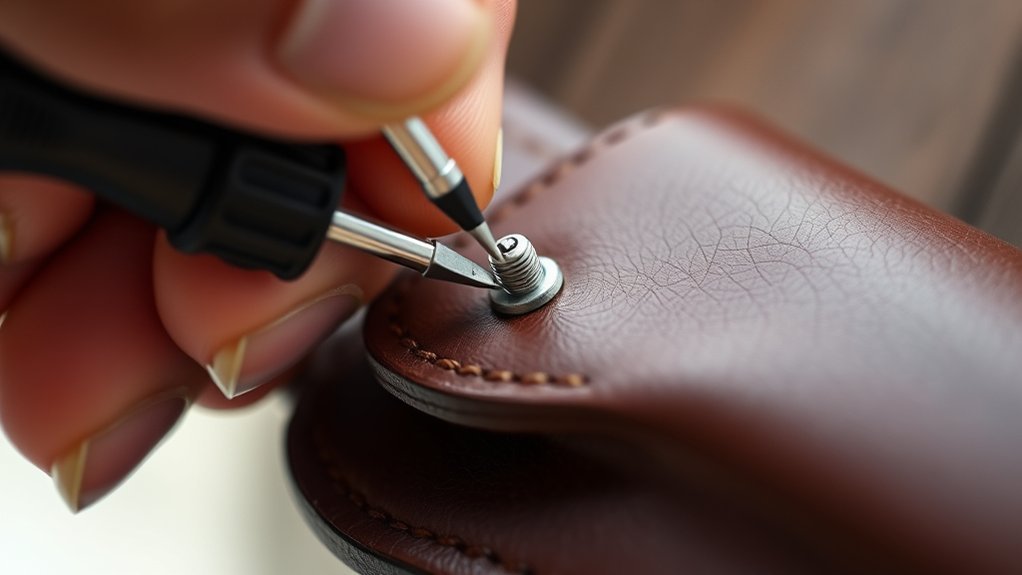
You’ll want to choose the right screwdriver that fits your screw head perfectly to avoid damage.
Apply steady, controlled pressure as you turn to keep the screw from slipping. This approach helps you loosen screws without stripping them.
Proper Screwdriver Selection
Choosing the right screwdriver is essential to avoid damaging your holster screws. Using the wrong type or size can strip the screw head, making removal difficult.
Here’s how to pick the best screwdriver for the job:
- Match the Screw Head: Identify whether your screws are Phillips, flathead, Torx, or another type. Using a screwdriver that fits the screw head perfectly prevents slipping.
- Check the Size: The screwdriver tip should fit snugly into the screw slot without any wiggle room. Too small or too large will cause stripping.
- Use Quality Tools: Opt for screwdrivers with strong, well-machined tips and comfortable grips. Cheap tools often slip or wear down quickly.
Applying Controlled Pressure
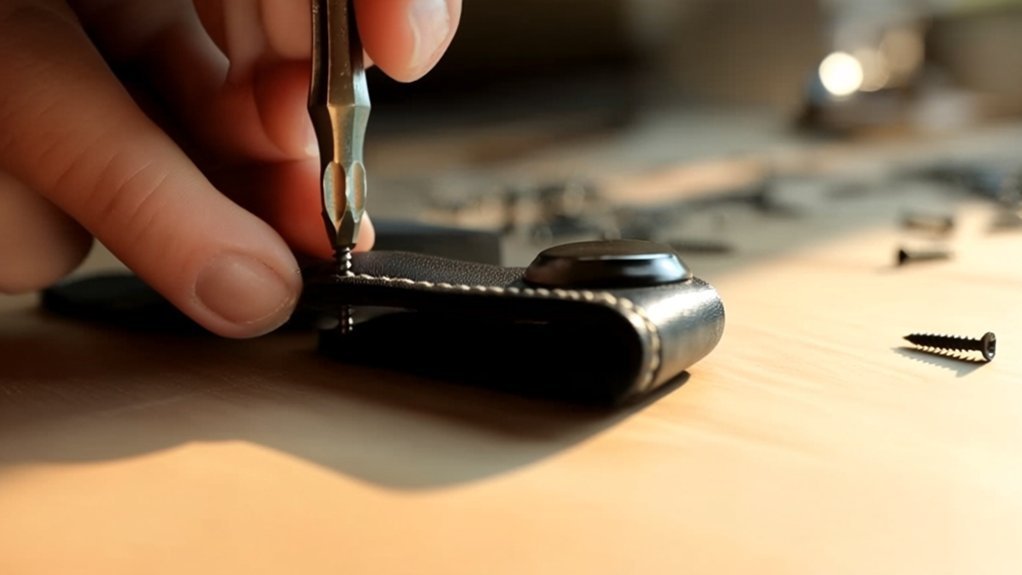
Although it might seem simple, applying the right amount of pressure when loosening screws is essential to prevent stripping. You want to press firmly enough to keep the screwdriver tip engaged with the screw head, but not so hard that you risk damaging it.
Start by positioning your screwdriver squarely in the screw slot, then apply steady, controlled pressure as you turn counterclockwise. If the screw resists, don’t force it—try adjusting your angle or use a tool with a better grip.
Remove Screws Using Proper Technique
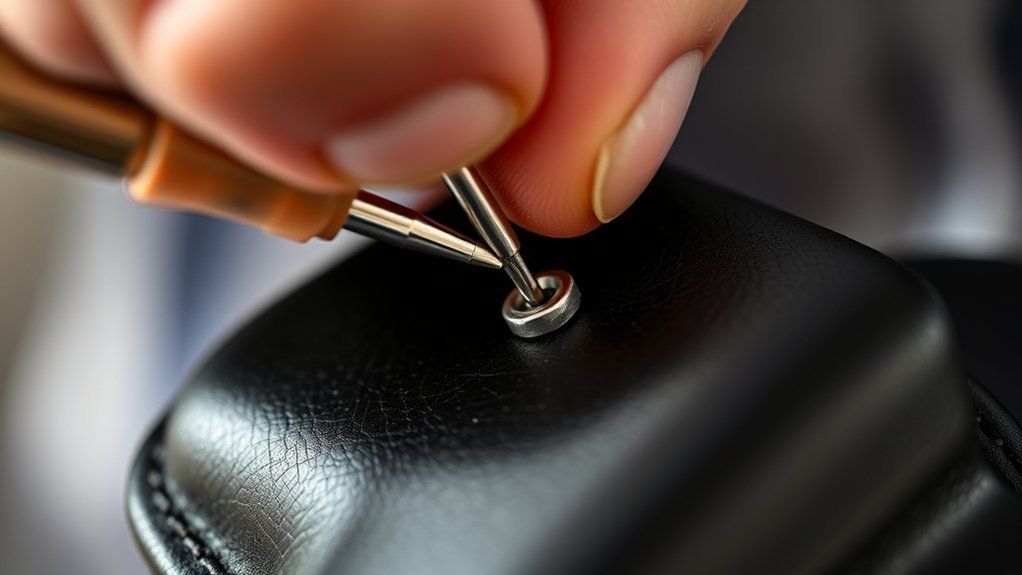
Before you start removing screws from your holster, make sure you have the right tools and a steady hand. Using the proper technique will prevent damage and make the process smoother.
Follow these steps:
- Align the screwdriver properly – Place the tip firmly into the screw head to avoid slipping or stripping.
- Apply consistent pressure – Push down while turning slowly and steadily, keeping control to prevent the tool from slipping out.
- Turn counterclockwise – Unscrew by turning the screwdriver to the left, using short, controlled movements for stubborn screws.
Inspect Your Holster and Screws Before Reassembly
After carefully removing the screws using the proper technique, take a moment to inspect both your holster and the screws themselves. Check for any wear, cracks, or damage on the holster where the screws were seated. Examine the screws for stripped heads, rust, or bent threads that could affect reassembly. Catching these issues early helps avoid problems later.
Here’s a quick reference to guide your inspection:
| Component | What to Look For | Action Needed |
|---|---|---|
| Holster Body | Cracks, warping | Repair or replace |
| Screw Head | Stripping, damage | Replace if necessary |
| Screw Threads | Rust, bending | Clean or replace |
Make sure everything is in good shape before moving on to reassemble your holster.
How to Keep Holster Screws Safe After Removal
When you remove the screws from your holster, you’ll want to store them carefully to prevent loss or damage. Keeping your screws organized guarantees you won’t scramble to find replacements later.
Here are three effective ways to keep them safe:
- Use a Small Container: Place the screws in a labeled small container or pillbox to keep them together and protected from dust or moisture.
- Magnetic Tray: A magnetic tray is perfect for holding metal screws securely, especially if you’re working on multiple projects.
- Attach to Tape: Stick the screws onto a piece of masking tape or painter’s tape, then fold it over and label it. This method prevents them from rolling away.
Frequently Asked Questions
Can I Replace Holster Screws With Different Materials for Better Durability?
You can replace holster screws with different materials, like stainless steel or titanium, for better durability. Just make sure the new screws match the size and thread to avoid damaging your holster or affecting its functionality.
How Often Should I Check and Tighten Holster Screws?
Imagine your holster loosening during a hike—that’s why you should check and tighten screws every month. Regular inspections prevent unexpected failures and keep your gear secure, ensuring you’re always ready when it counts.
Are There Specific Lubricants Safe for Use on Holster Screws?
Yes, you can use light machine oil or silicone-based lubricants on holster screws. Avoid heavy greases that attract dirt. These keep screws turning smoothly without damaging your holster’s material or hardware over time.
Can Removing Screws Affect My Holster’s Warranty?
A customer who removed holster screws voided their warranty. Yes, altering screws often affects warranty terms. Always check your manufacturer’s policy before unscrewing anything to avoid losing coverage or support for your holster.
What Should I Do if a Holster Screw Is Completely Stripped?
If a holster screw is stripped, try using a rubber band for extra grip or a screw extractor tool. If that fails, contact the manufacturer for advice or replacement parts to avoid voiding your warranty.
Conclusion
Now that you’ve mastered removing holster screws without turning them into unrecognizable blobs, you’re basically a screw-removal pro. Who knew those tiny pieces could cause such a fuss? Just remember, keeping track of those screws is easier than finding a lost sock—if you’re careful. So, go ahead, tackle that holster with confidence, and enjoy the rare satisfaction of not losing any screws along the way. Easy, right?