How to Make a Kydex Holster in 7 Easy Steps
To make a Kydex holster in seven easy steps, start by gathering your materials and measuring your firearm’s dimensions with a small margin. Cut the Kydex sheet to size, then heat it evenly until flexible. Mold it tightly around your firearm, let it cool, then trim and sand edges for comfort. Attach your clips and rivets securely. Finally, test the fit and retention, adjusting with heat or screws for a perfect hold. Keep going to uncover tips for flawless shaping and secure retention.
Gather Your Materials and Tools for Making a Kydex Holster
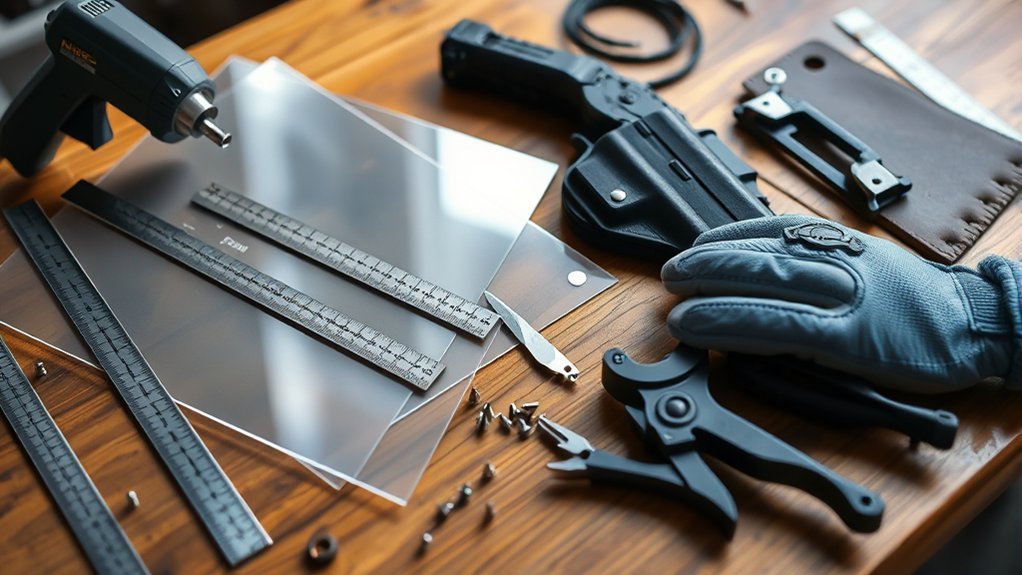
Before you begin shaping your Kydex holster, you’ll need to gather all the essential materials and tools. Start with a sheet of Kydex, the thermoplastic you’ll shape to fit your firearm.
You’ll also need a heat source, like a heat gun or an oven, to soften the Kydex for molding. Have a sturdy mold or your firearm itself ready for shaping.
Grab gloves to protect your hands from the heat and a marker to outline your design.
You’ll want some clamps or a press to hold the Kydex firmly while it cools.
Finally, keep a drill handy for making holes for rivets or screws.
Having these tools organized before you start saves time and makes the process smoother.
Measure and Cut the Kydex Sheet to Your Firearm’s Size
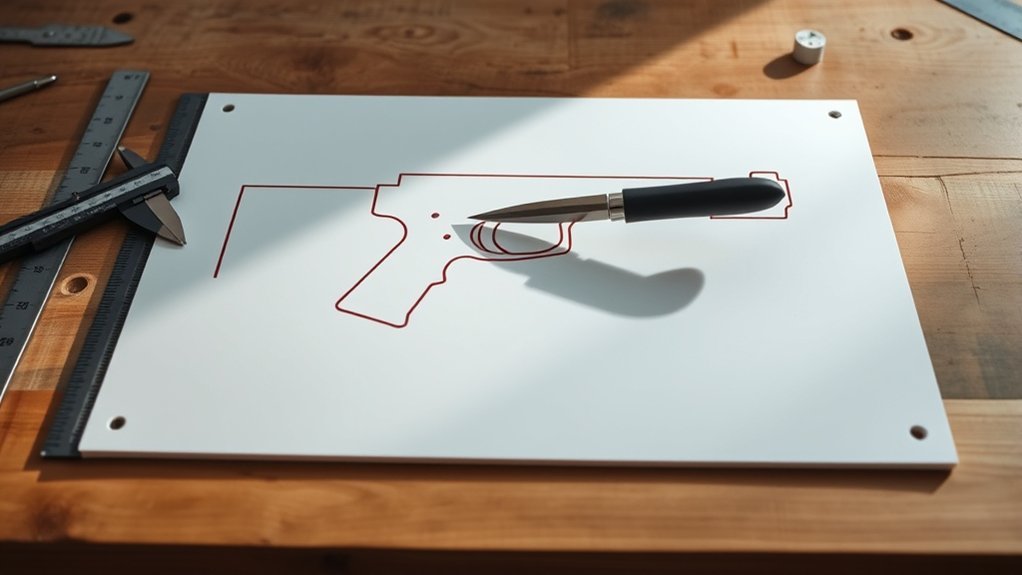
Start by measuring your firearm carefully to guarantee a perfect fit.
Choose a Kydex sheet thickness that balances durability with ease of molding.
Then, use the right tools and cutting techniques to shape the material accurately.
Accurate Firearm Measurements
How do you guarantee your Kydex holster fits your firearm perfectly? Start by taking precise measurements of your gun’s key dimensions: length, width, height, and trigger guard area. Use a caliper or a ruler with millimeter markings to capture exact sizes.
Don’t forget to include any attachments, like lights or lasers, if you plan to accommodate them. Mark these measurements clearly before transferring them onto your Kydex sheet.
When cutting, add a small margin—about 1/8 inch—to ensure enough material for forming and trimming. Accurate measurements help the molded holster hold your firearm securely without being too tight or loose.
Taking your time here saves frustration later and ensures your finished holster fits like a glove, providing both protection and quick access.
Selecting Proper Kydex Thickness
What thickness of Kydex will best protect your firearm while keeping the holster lightweight and manageable? Choosing the right thickness guarantees your holster fits snugly and holds up under use.
Generally, Kydex sheets come in 0.060”, 0.080”, and 0.093” thicknesses, each with distinct benefits.
Consider these factors when selecting thickness:
- 0.060”: Lightweight and flexible, ideal for smaller pistols or concealed carry.
- 0.080”: Balanced rigidity, suits most full-sized handguns and offers durability.
- 0.093”: Thickest and toughest, perfect for larger firearms or heavy-duty use.
Measure your firearm carefully and pick a thickness that matches your comfort and protection needs.
This step sets the foundation before you cut the Kydex sheet to size.
Cutting Techniques and Tools
Before cutting your Kydex sheet, you’ll need to measure your firearm carefully to make certain a perfect fit. Use a ruler or calipers to get exact dimensions, including length, width, and thickness. Mark these measurements onto the Kydex with a fine-tip permanent marker.
When it’s time to cut, choose a sharp utility knife or heavy-duty scissors designed for plastic. A rotary tool with a cutting wheel also works well for precise edges. Cut slowly and steadily along your marked lines to avoid jagged edges.
After cutting, you can smooth rough edges with fine-grit sandpaper or a file. Taking your time with measuring and cutting guarantees your holster will hold your firearm securely and comfortably without excess material or gaps.
Heat Kydex Holster Material for Shaping
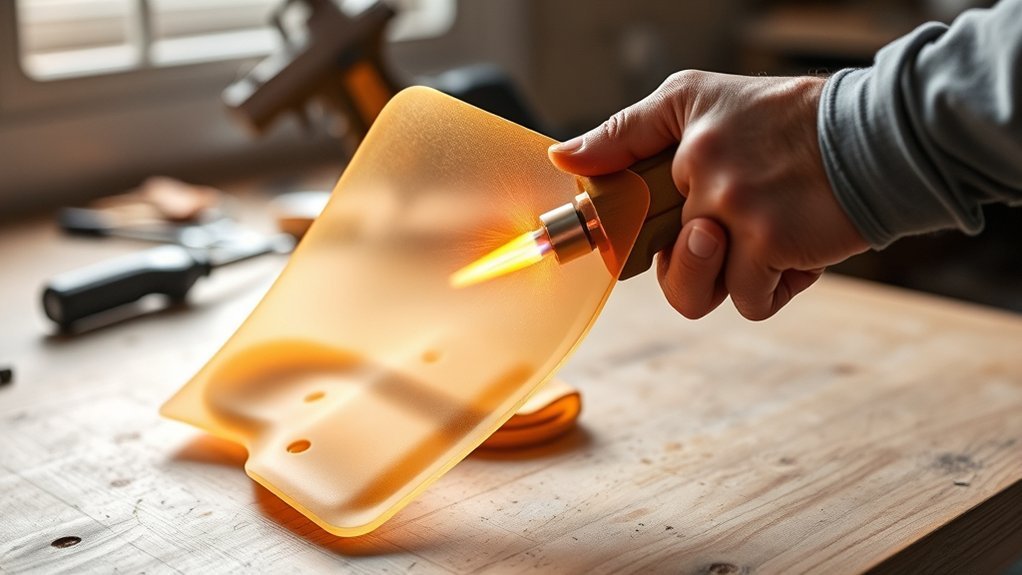
When you heat Kydex, it becomes soft and pliable, allowing you to shape it precisely around your firearm. To heat it properly, you’ll want to use the right tools and technique to avoid over- or under-heating.
Here’s what you need to keep in mind:
- Use a heat gun set between 250°F and 300°F to gently warm the material.
- Heat evenly by moving the gun back and forth to prevent warping or burning.
- Test Kydex’s flexibility by pressing it lightly; it should bend without cracking.
Heating it just right ensures the Kydex molds easily and holds your gun snugly while maintaining durability. Avoid overheating, or it could bubble or lose strength.
Getting this step right sets the foundation for a perfect holster.
Mold Your Kydex Holster for a Custom Fit
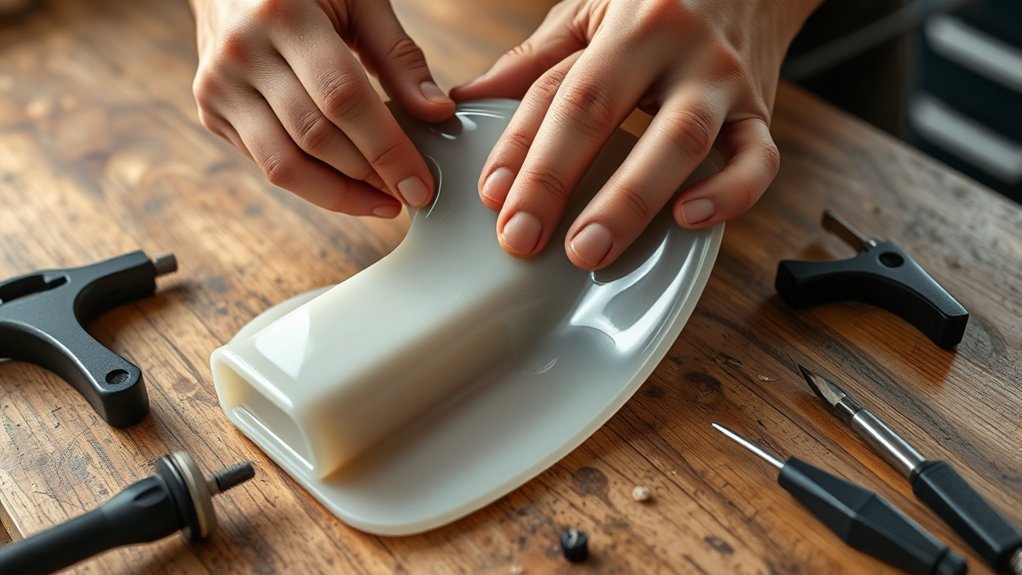
Once the Kydex is heated to the right flexibility, you’ll want to press it firmly around your firearm to capture every detail of its shape. Use consistent pressure and hold the mold tight until it cools and hardens. This guarantees a snug, custom fit that won’t shift during use. Remember to protect your firearm’s finish by using a thin cloth between the Kydex and the gun if necessary.
Here’s a quick reference for molding pressure and timing:
| Pressure Level | Hold Time | Result |
|---|---|---|
| Light | 10-15 seconds | Loose fit |
| Moderate | 20-30 seconds | Secure, snug fit |
| Firm | 30-45 seconds | Very tight, precise |
Apply firm pressure and be patient for the best custom fit.
Trim and Sand Kydex Holster Edges for Comfort
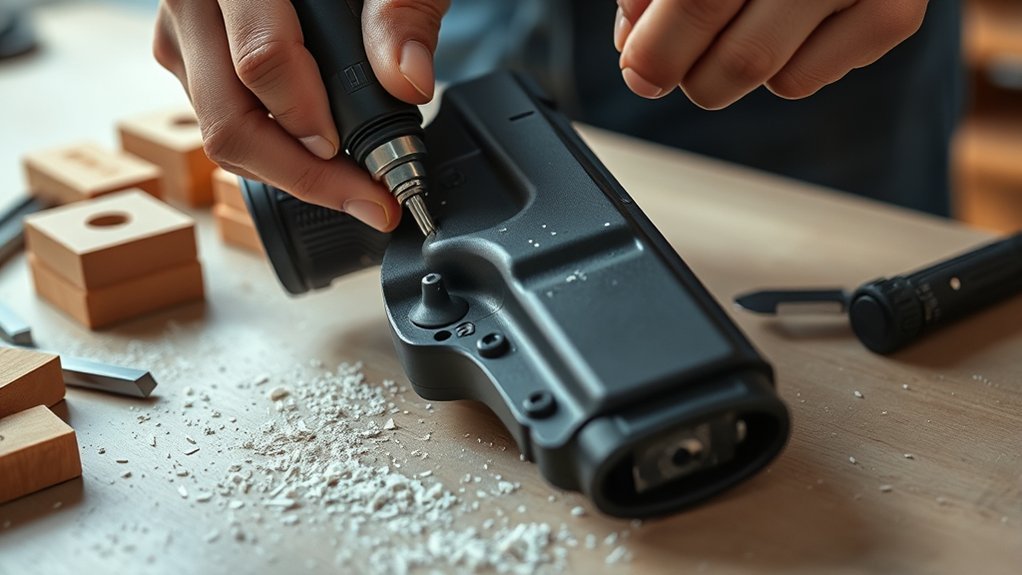
Although your Kydex holster has taken shape, its edges might feel rough or sharp against your skin or clothing. To guarantee comfort and safety, you need to trim and sand these edges carefully.
Start by using a fine-toothed rotary tool or sharp scissors to trim excess material, following the holster’s outline precisely.
Then, smooth the edges by sanding them with progressively finer grit sandpaper until they’re rounded and soft to the touch.
Pay attention to:
- Corners, which can often be sharper and need extra smoothing
- Areas where the Kydex folds or layers overlap
- The opening edges where your firearm slides in and out
Taking your time here makes the holster much more comfortable for everyday use.
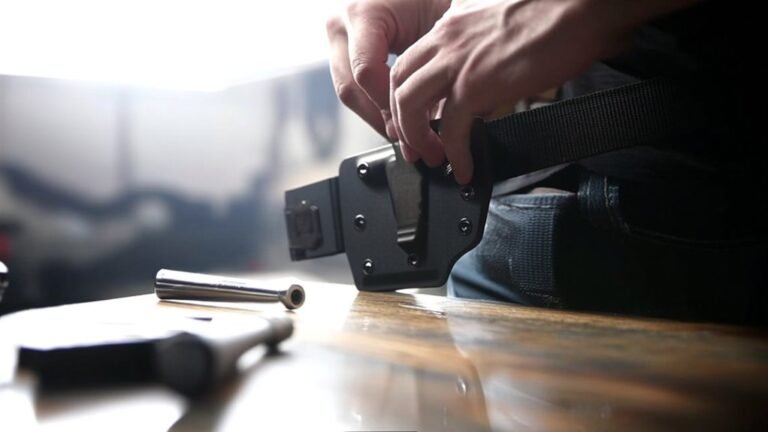
Attach Clips and Rivets to Secure the Holster
Since a holster isn’t truly functional without a secure way to attach it to your belt or gear, you’ll need to install clips and rivets carefully.
First, select the type of clip that suits your carry style, whether it’s belt clips or paddle clips.
Position the clips on the holster where they provide the best balance and accessibility.
Mark the holes for the rivets, ensuring they align with the clip holes.
Use a drill or rotary tool to create precise holes through both Kydex layers.
Insert rivets through the holes and the clip, then secure them using a rivet setter or hammer.
Make sure the clips are firmly attached without gaps or looseness.
This step guarantees your holster stays put during daily use.
Test Retention and Adjust for a Safe Fit
Now that your clips and rivets are in place, it’s time to test the retention of your holster. Try drawing and reholstering your firearm to see how securely it fits and whether any adjustments are needed.
If the fit feels too tight or loose, you can tweak the retention by heating the Kydex and reshaping it for a safer, more comfortable hold.
Retention Test Methods
Before you finalize your Kydex holster, you’ll want to thoroughly test its retention to guarantee your firearm stays secure yet accessible. Retention test methods help verify your holster holds the gun firmly while allowing a smooth draw.
Start by inserting the firearm and performing these simple checks:
- Vertical Pull Test: Grip the holster and pull straight up to see if the firearm resists removal.
- Twist Test: Try twisting the firearm within the holster to check for excessive movement.
- Draw Speed Test: Practice drawing quickly and smoothly to confirm the retention doesn’t hinder accessibility.
If the holster fails any test, revisit your molding or hardware adjustments.
These methods help you confirm a safe fit before everyday use.
Adjusting Fit Tightness
Although your initial retention tests provide a good baseline, you’ll need to fine-tune the fit tightness to guarantee your holster holds the firearm securely without making draws difficult.
Start by inserting the firearm and evaluating how easily it slides in and out. If it’s too tight, carefully use a heat gun to slightly soften the Kydex around the contact points, then reshape by pressing or molding.
For a loose fit, add retention screws or tighten existing ones to increase grip. Test repeatedly after each adjustment to strike the right balance between secure retention and smooth draw.
Frequently Asked Questions
What Safety Precautions Should I Take When Heating Kydex?
You should wear heat-resistant gloves and work in a well-ventilated area to avoid fumes. Don’t overheat the Kydex, and keep a fire extinguisher nearby. Always handle hot material carefully to prevent burns.
Can I Make a Kydex Holster for Concealed Carry?
You can absolutely craft a discreet companion for your everyday essentials. With careful molding and design, your Kydex holster can offer comfortable, secure concealed carry, blending safety and subtlety without drawing unwanted attention.
How Durable Is a Homemade Kydex Holster?
Your homemade Kydex holster can be very durable if you use quality materials and proper techniques. It resists wear, moisture, and impact well, but careful craftsmanship is key to ensuring it lasts through regular use.
What Types of Firearms Work Best With Kydex Holsters?
You’ll find kydex holsters work best with semi-automatic pistols and revolvers, especially compact or full-sized models. But wait—there’s a catch: the firearm’s shape and size dictate how snug and secure your holster will fit.
Are There Legal Restrictions on Making Your Own Holster?
Yes, you do have to watch for legal restrictions when making your own holster. Laws vary by state and country, so check local regulations to guarantee your holster complies with carry and manufacturing rules before you start.
Conclusion
Congrats, you’ve just crafted a Kydex holster worthy of a gunslinger—or at least someone who appreciates plastic that’s been heated and bent. Sure, it’s not rocket science, but hey, who needs NASA when you’ve got a custom-fitted holster hugging your firearm like a warm hug? Now, go test that retention like a pro, and remember: if your holster holds your gun better than your ex held a conversation, you’ve nailed it.